

I’ve been asked by many friends “How do you get into camping? Where do you start?” This is a big question. There is so much camping gear out there - some is necessary, some is nice to have, and some is just not needed. So to help you get started with your camping list I’ve broken down the essentials, deciphering the endless choices between all the gear.
***This post contains some affiliate links - But know that I only sign up to be an affiliate for companies that I truly believe in and have used their products.

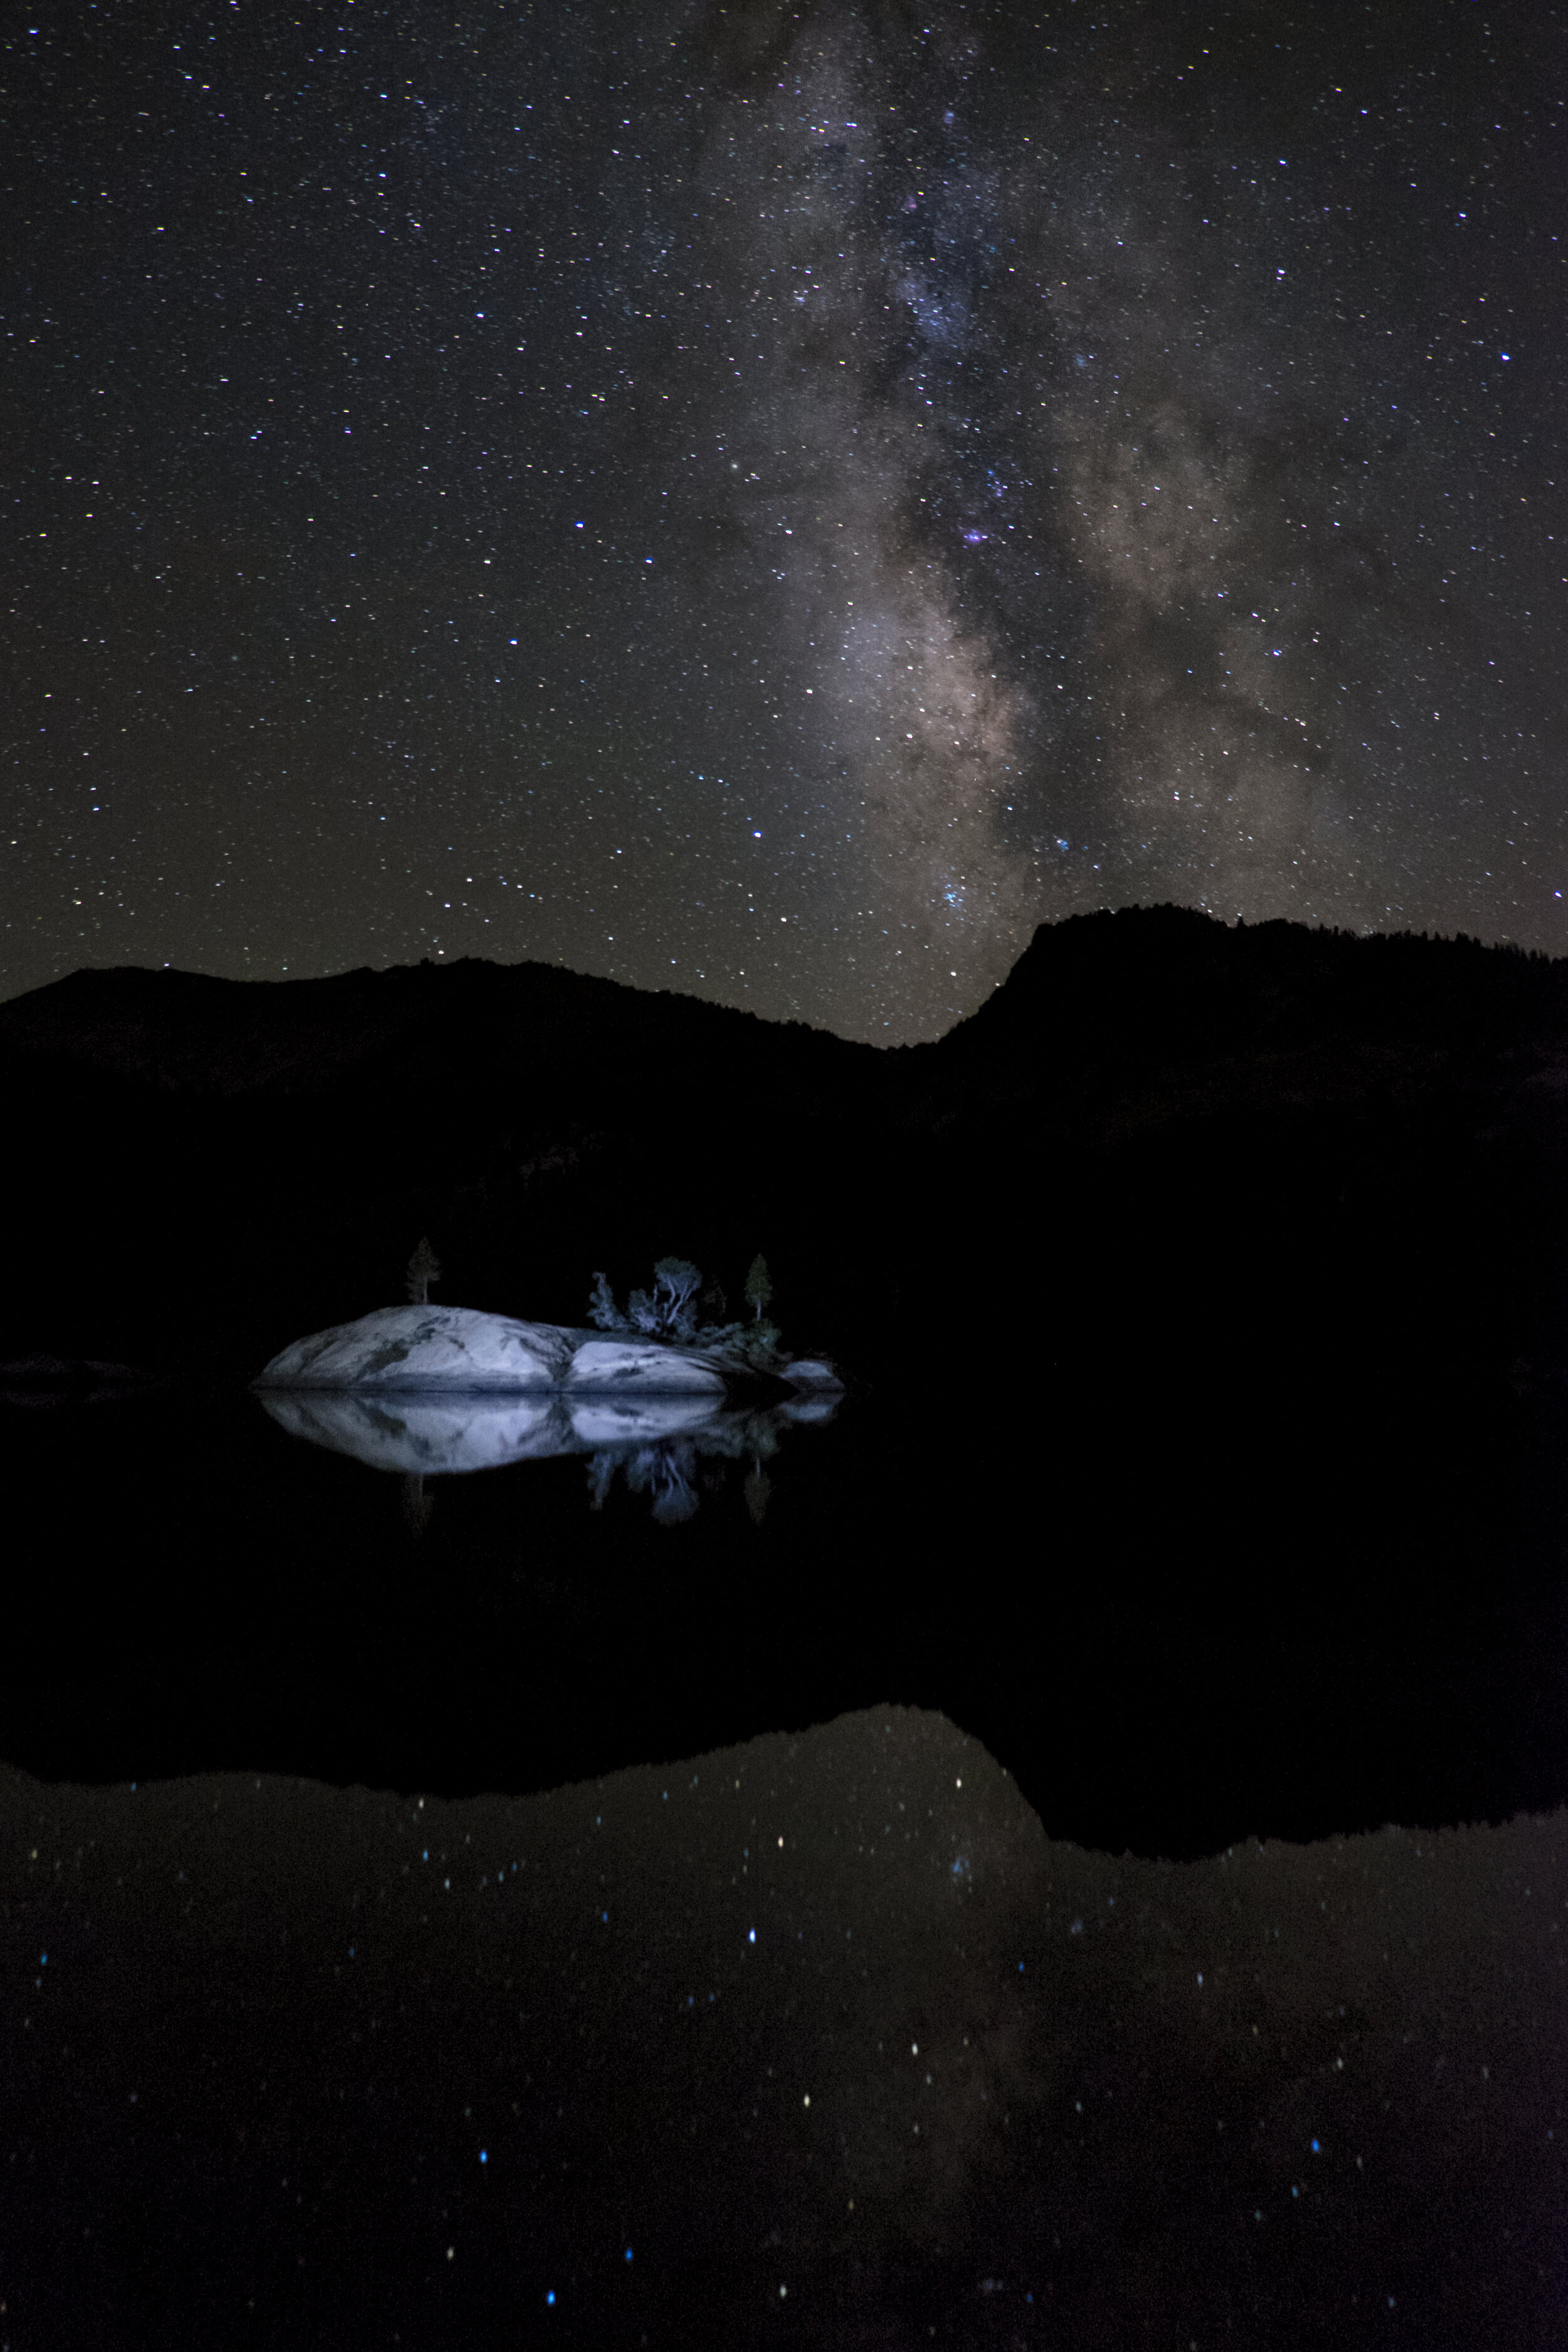
Harris Lake, Routeburn Track, New Zealand

Testing out our new NEMO tent!
So where to start?
First you need a place to sleep! - Tents
I would say this is the most important piece of the puzzle. You need to be able to shelter yourself from the elements, mosquitos, and other critters! Before we look at some actual tents, there are some questions you need to ask yourself:
Are you going to be carrying this tent with you in a backpack or taking it out of your car at a drive-in campsite? (This will determine the weight)
How many people (or pups!) will be in your tent? (This will determine the size)
Will you be setting up the tent by yourself or will you have help? (This will determine the complexity)
Most websites (like REI) will differentiate between “backpacking” and “camping” tents. The “backpacking” tents are going to be lower profile, lightweight and easy to setup. Keep in mind that with these tents when it says “2 person” you should expect to be pretty close to that other person! “Camping” tents are going to be a bit roomier, taller, and heavier and usually less expensive. If you think that you will be backpacking or wanting to backcountry camp in the future, then I would opt for a “backpacking” tent.
Some aspects to look at when deciding on the tent are:
How many poles does it have? The more poles the harder to setup.
How many people is it rated for?
How many seasons is it rated for? (unless you are winter camping 3-season is enough)
How many doors does it have? For backpacking tents it’s best to have two so you don’t have to crawl over your camping-mate in the middle of the night.
Does the rain fly have a vestibule (or two)? These are extensions of the rain fly so that you can keep your gear dry but doesn’t take up space in the tent.
Does it come with a footprint? If not you may want to get a simple tarp to keep dry in wet climates.
We have used REI, Mountain Hardwear, and are currently using a 3 person Nemo tent - all have worked really well for us!

Camping site along the Routeburn Track, New Zealand
Camping site at Ten Lakes, Yosemite National Park
Next, how about a cozy sleeping bag?
Again, there are lots of choices between sleeping bags! Packability, material, temperature rating, shape, etc. So let’s break it down:
Packability: If you are wanting to backpack, definitely opt for one with a small pack size and stuff sack. As I mentioned before, any backpacking gear will be great to use in a car-camping situation, but not the other way around!
Material:
Down: Down offers the best packability and is very lightweight for the warmth that it can provide! Many backpackers will opt for a down bag, but it does have a few cons. For one, it is the priciest of all bags. It also does not do well when wet. If you do go for a down bag, it will be luxurious, but be sure to put it in a trash bag before packing it in the stuff sack to help keep it dry!
Synthetic Down: This is the answer to the water problem that down has. Synthetic down is much easier to dry out if it gets wet as it won’t clump. It will be a bit bulkier and heavier than down, but could be worth the hassle (especially if you are camping in a place like the PNW or the UK where it is always damp)
Flannel: You will also see a lot of flannel roll bags. These are super comfy and perfect for a car camping situation (or a sleepover!) These tend to be very large, so not good for backpacking.
Temperature Rating: All sleeping bags will have a temperature rating (usually in Celsius). My general recommendation is to opt for a bag that is about 20 degrees less than your coldest camping situation. Your body’s metabolic rate drops when you are asleep so these extra 20 degrees will keep you from a restless night.
Shape: This is a very personal choice. I am very claustrophobic so I don’t like to have anything too constricting in the legs. You’ll also have to look at the length, because excess space will make things colder, and nobody wants anything too short!

Camp site at Mineral King, Sequoia National Park
Now let’s make it a bit more comfortable! - Sleeping Pads
Another item that is not straightforward is the sleeping pad. Technically you don’t NEED it, but anyone who has gone without one will say it is a necessity. A good sleeping pad will keep you dry, warm and comfortable. It acts as insulation against the cold ground and as - you guessed it - padding. Take a look at the “R-Value” on the pads. The higher the R-Value (up to 5.5) the warmer it will be. So again, there are choices to make.
Foam Pad: The foam pad, like the classic Therm-a-rest foam pad, is super reliable and a great one to start with if you are just getting into camping. The great thing about the foam pad is that not much can happen to it - no holes, no crinkly noises - it is what it is. Because of their simplicity these tend to be very affordable. You can certainly backpack with a foam pad as they don’t weight too much, and will likely just clip to the outside of your pack. The only downside is it doesn’t provide much in the way of weight distribution and you will likely feel some of the roots and rocks under you.
Air Pad: There is a huge price range when it comes to air pads and a lot of it has to do with the ease of set up and their weight distribution. Because it is a blow-up pad it is going to be super lightweight and pack VERY small. The biggest downside with the air pads is if the get a hole then you will need to patch it so it doesn’t slowly leak overnight. There are some concerns with air pads in extreme cold weather camping as the air from your breath can freeze and wear on the inside of the pad. So they are wonderful, until they are not and requires a bit more care and maintenance.
Hybrid: If you are wanting a bit more than the foam pad but not wanting the hassle of the air pad, I would say that the hybrids are the way to go. These often include a self-inflating valve, which makes it very easy to set up, and an open-cell foam formation. This provides the best of both worlds, giving you the weight distribution and comfort of the air pad and the insulation of the foam pad. They also tend to be made of heavier duty material so you shouldn’t worry about holes. These are probably the heaviest of options but they will be the most comfortable.
Good example: Therm-A-Rest Trail Pro Pad
time to think about food!
Stoves: Again these are broken down into “Camping” and “Backpacking”. If you are always going to be car camping, then you could opt for a burner style camping stove. These are easy to setup, ignite and can cook like you would on a stovetop. BUT if you have backpacking anywhere in your future, then I would definitely opt for a backpacking stove, in particular the MSR Reactor! My husband and I bought this after years of dealing with a finicky stove and it is the easiest, fastest stove ever! They say you can boil a liter of water in under a 3 minutes but I think it might be faster…WHAT?!?!?!

MSR Reactor, Ruffwear Bachelor Pad, Thermacell, and Good to-Go Curry!
Anyways, now what about food?
With car camping, you can pretty much do whatever you want! I have definitely gotten takeout pizza and a bottle of wine, because why not?! As for backpacking, you don’t want to be carrying around heavy ingredients (or sadly, a wine bottle). This is why you will often see backpackers bring dehydrated, pre-portioned foods. And trash is an issue (Leave no Trace) - so don’t be bringing lots of packaging! Some of my favorite things to eat and bring while backpacking are:
Instant oatmeal - easy, tasty, and lightweight!
Instant mashed potatoes
Good-To-Go meals - these are honestly they best pre-made backpacking meals I’ve had and are worth the money! I particularly like the Thai dishes. And they just came out with a Chicken Pho! They have plenty of options for gluten free, vegetarian, and vegan folx. You can make and eat them right in the package, and since they’re resealable you can easily save leftovers for lunch the next day!
Where do you put your food?
This is a question that has lots of different answers based on who you ask. For me personally, I just like to bring one bowl that will work for drinks and food. With that being said, you might want to keep things separate if you don’t want oatmeal in your coffee :) Plastic is good because it is lightweight, but does tend to break more easily packed in a backpack. Metal is sturdy but heavy and even the lightweight titanium ones get HOT with boiling water in it! So I would recommend exploring on your own and seeing what catches your fancy!

John Muir Trail - Kings Canyon National Park
What else?
Below are some other things to think about when you are camping or backpacking!
Backpacks: I would recommend going into a store to see what size and shape works best for your body. Oftentimes outdoor companies will put weight in the pack to have you simulate a full backpack so you can see if there are any places where the pack rubs the wrong way. If you are a womxn, I recommend going with a female specified shape as most of us got hips and boobs (and should be proud of it!). I’ve used Gregory, Kelty, and Osprey packs in the past and they have all worked well!
Water Filtration: If you aren’t able to boil the water or have a potable faucet, then take a look at water filtration systems! I use the Sawyer system which is reusable and actually takes all the grit out of the water too - great for the puddles you have to drink out of! Otherwise you can use iodine tablets (doesn’t taste great) or boil but it may be served with a side of dirt.
Headlamps: Yes, any old flashlight will do, but when you are cooking or setting up your campsite at night, having both hands is helpful!
Mosquito Repellent: I HATE mosquitos, they can definitely ruin a camping experience for me. So aside from bug spray, I like to use the Thermacell at our campsite. It helps both us and our pup Teddy as it makes a 15 foot mosquito-free dome. Finally, something that helps!
Hammocks and Chairs: Although it is TOTALLY fine to sit on a log, rock or ground, sometimes it’s nice to lay in a hammock or sit in a camp chair. We sometimes bring our hammock with us on shorter backpacking trips, because it’s usually worth that extra weight!
Puppy Gear: Don’t forget about your pup! Dogs will definitely need some of the same things you do. Ruffwear is always my go-to for gear because THEY. HOLD. UP. and they are eco-conscious and continuing to improve their practices. Below are some of my faves:
Mt. Bachelor Pad Portable Dog Bed (we’ve gone backpacking with this)
Highlands Dog Sleeping Bag (I know it sounds crazy, but dogs get cold!)
The Beacon Safety Light (we use this ALL the time, good to know where Teddy is when it’s dark out!)
And you might want to think about some first aid for the pooch, because just like us, dogs can get scratches and cuts.
Phew, man, I didn’t realize how complicated it was until I started writing it out! My last piece of advice for you is don’t feel like you have to get everything all at once. Borrow some gear from a friend to see what you like and don’t like! You might start car camping but then quickly realize you want to backpack or vice versa. So test it out, be safe, and have so much fun!!
Paws up,
Emily and Teddy


There is so much camping gear out there - some are necessary, some are nice to have, and some are just not needed. So to help you get started with your camping list I’ve broken down the essentials, deciphering the endless choices between all the gear.